Why Everyone is Talking About Rucking – And Should Be!
This military-inspired workout is a simple and powerful upgrade to any walk, working strength, posture and cardio at the same time.

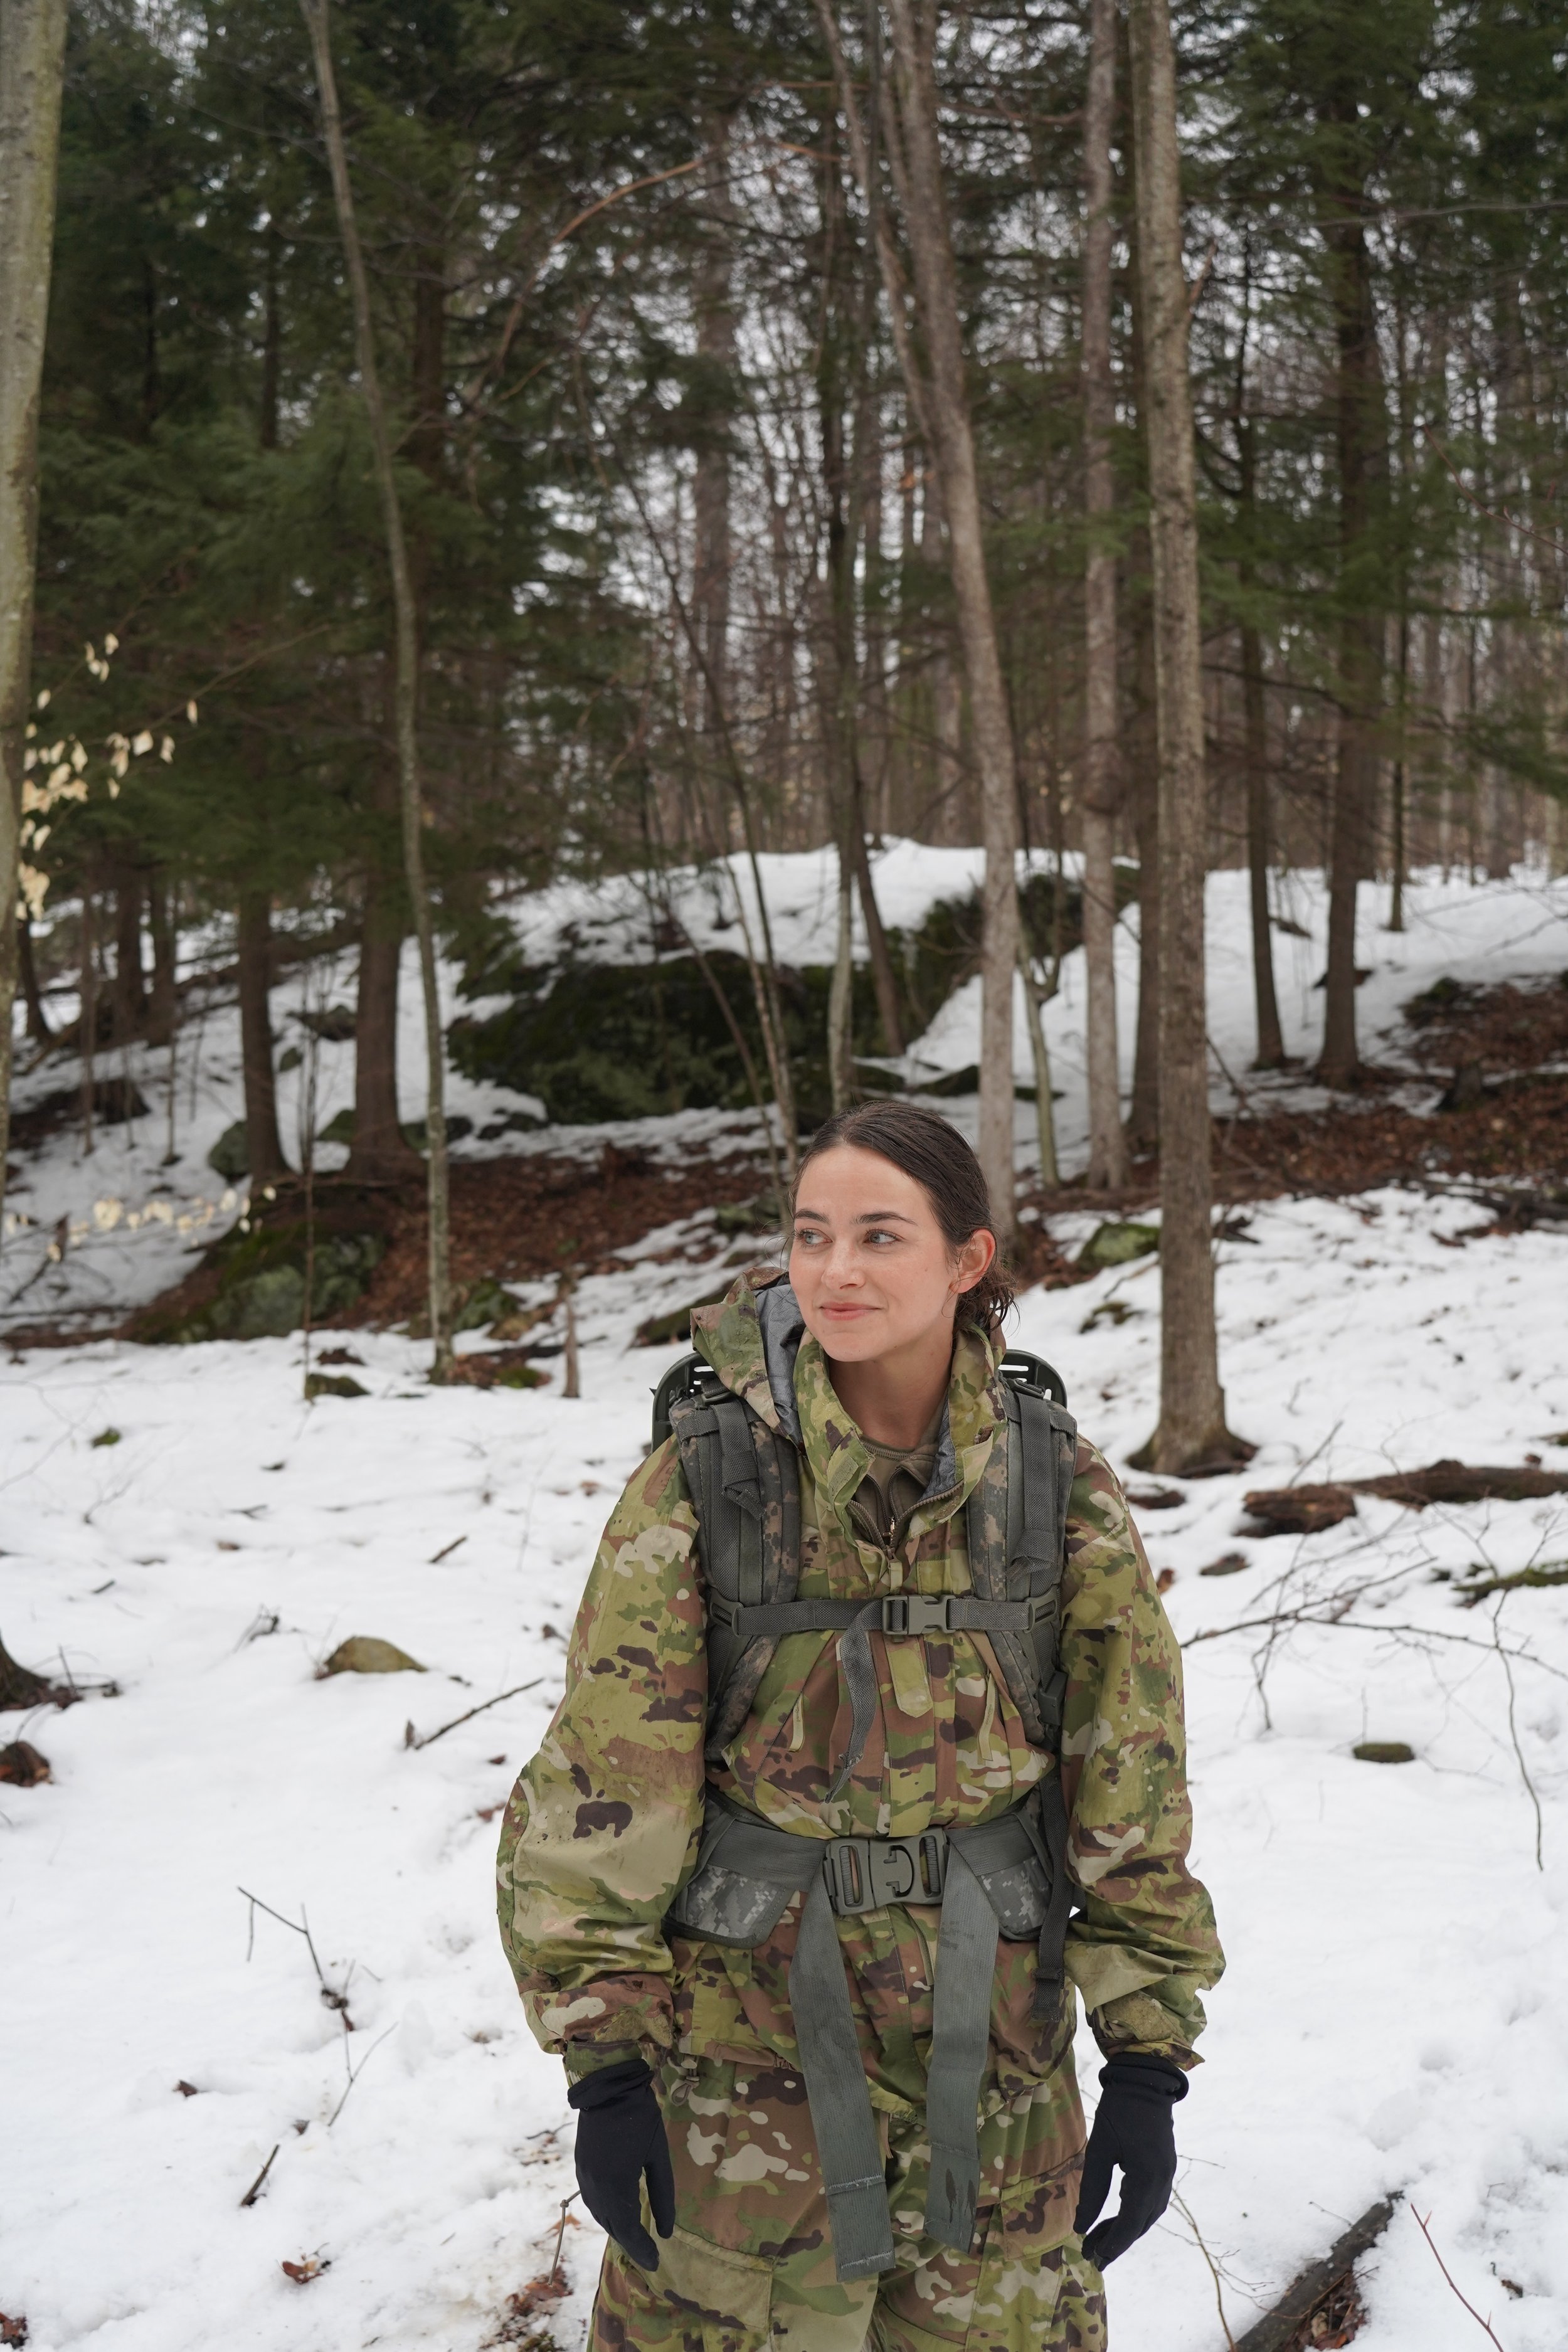
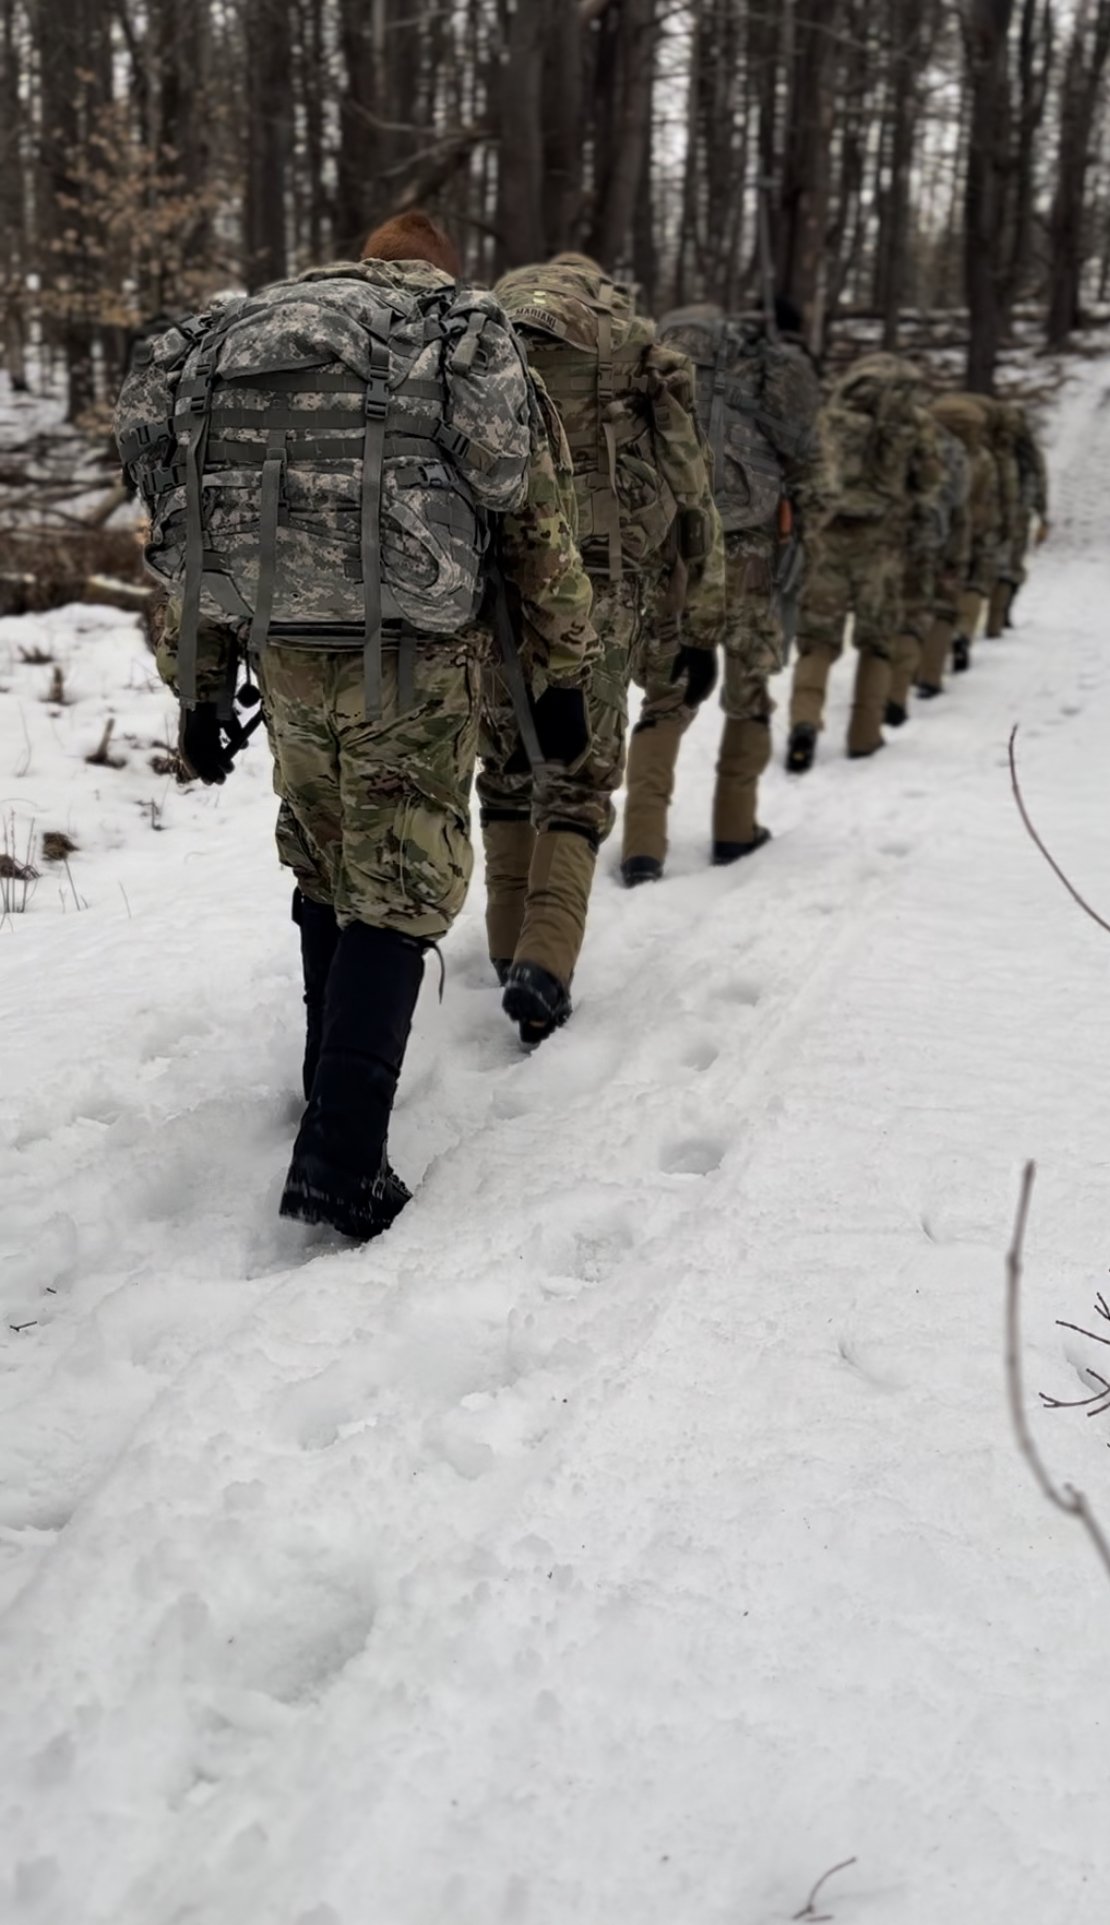
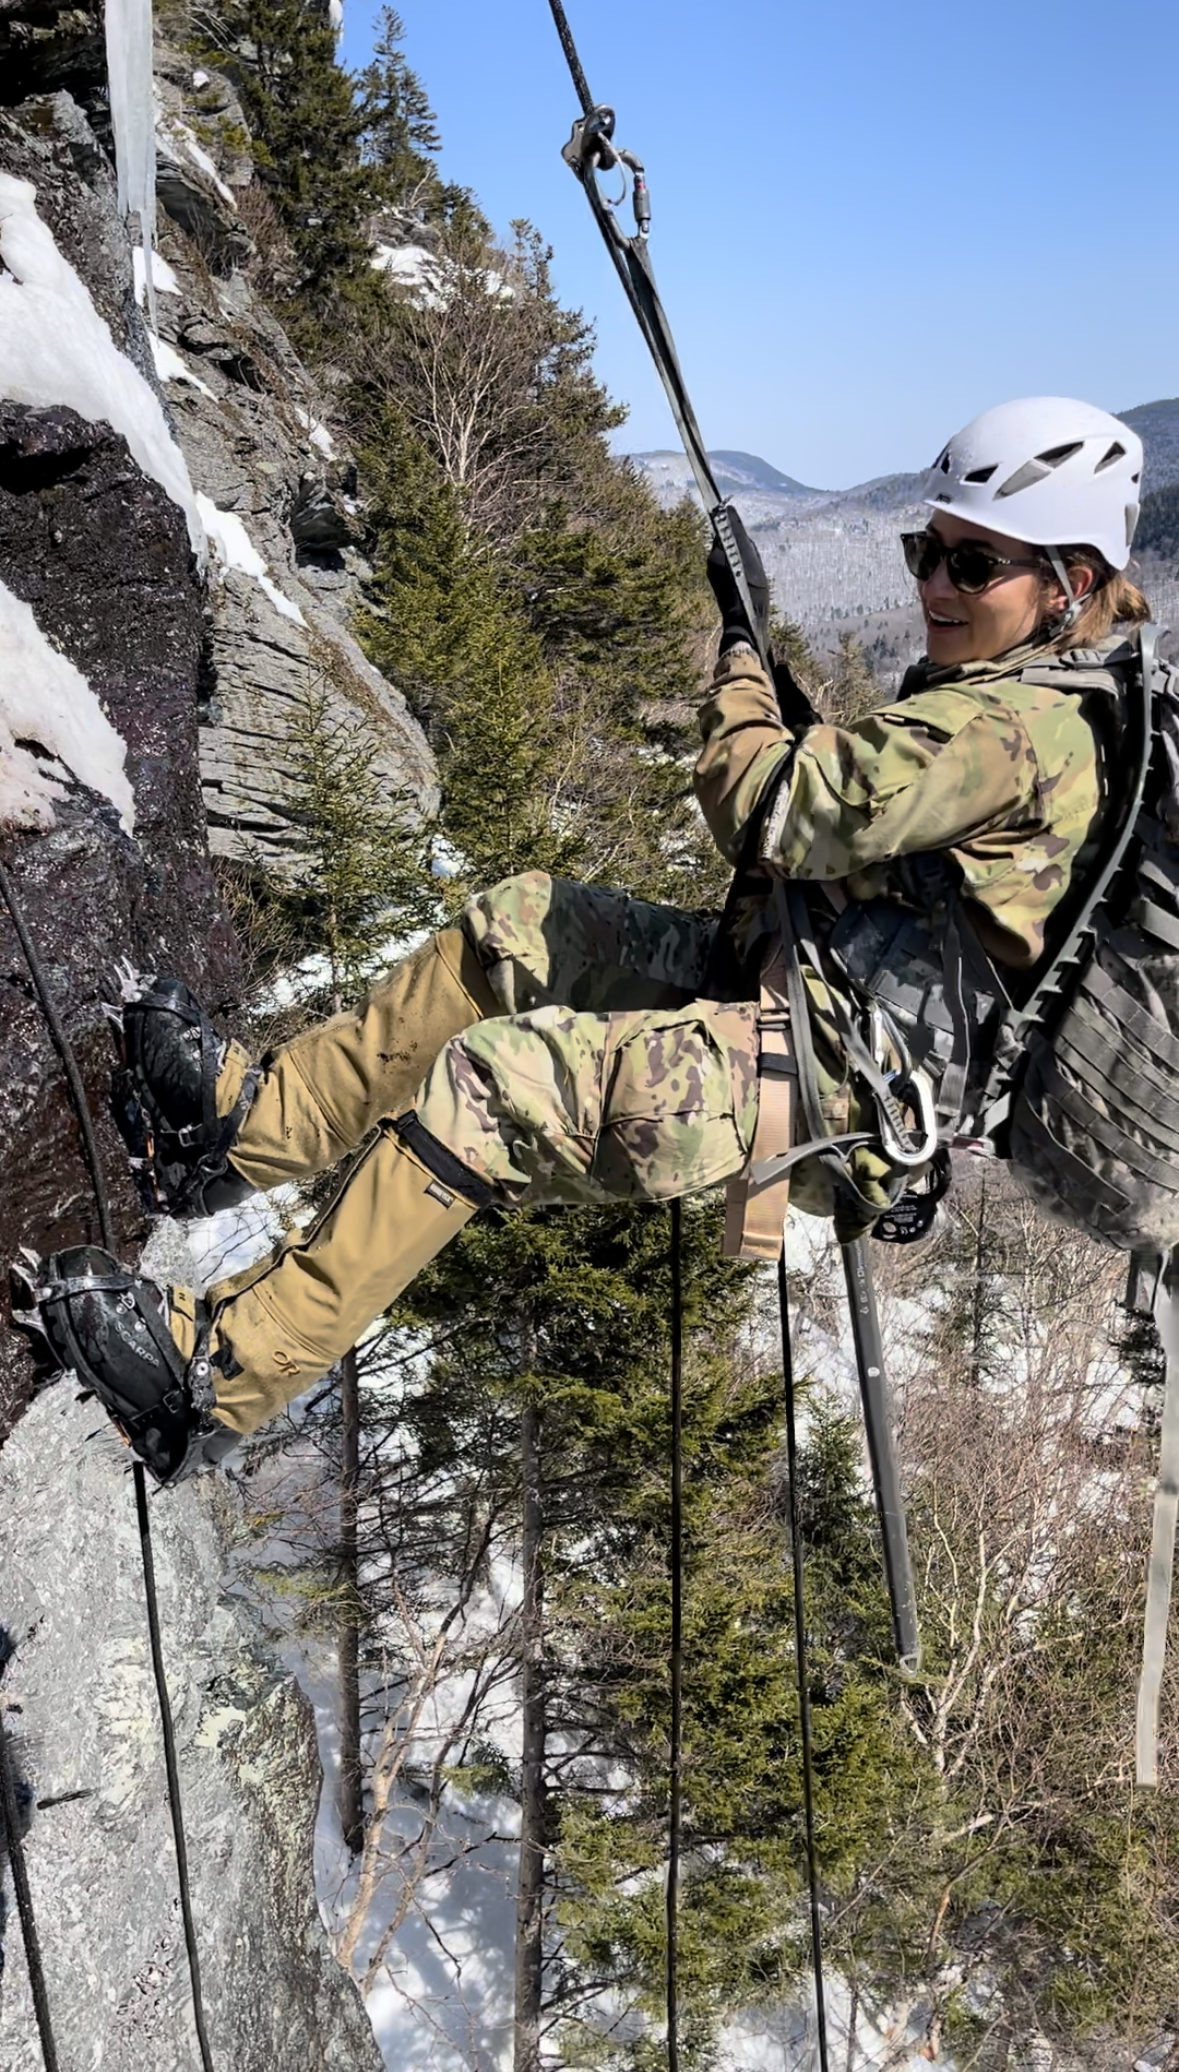
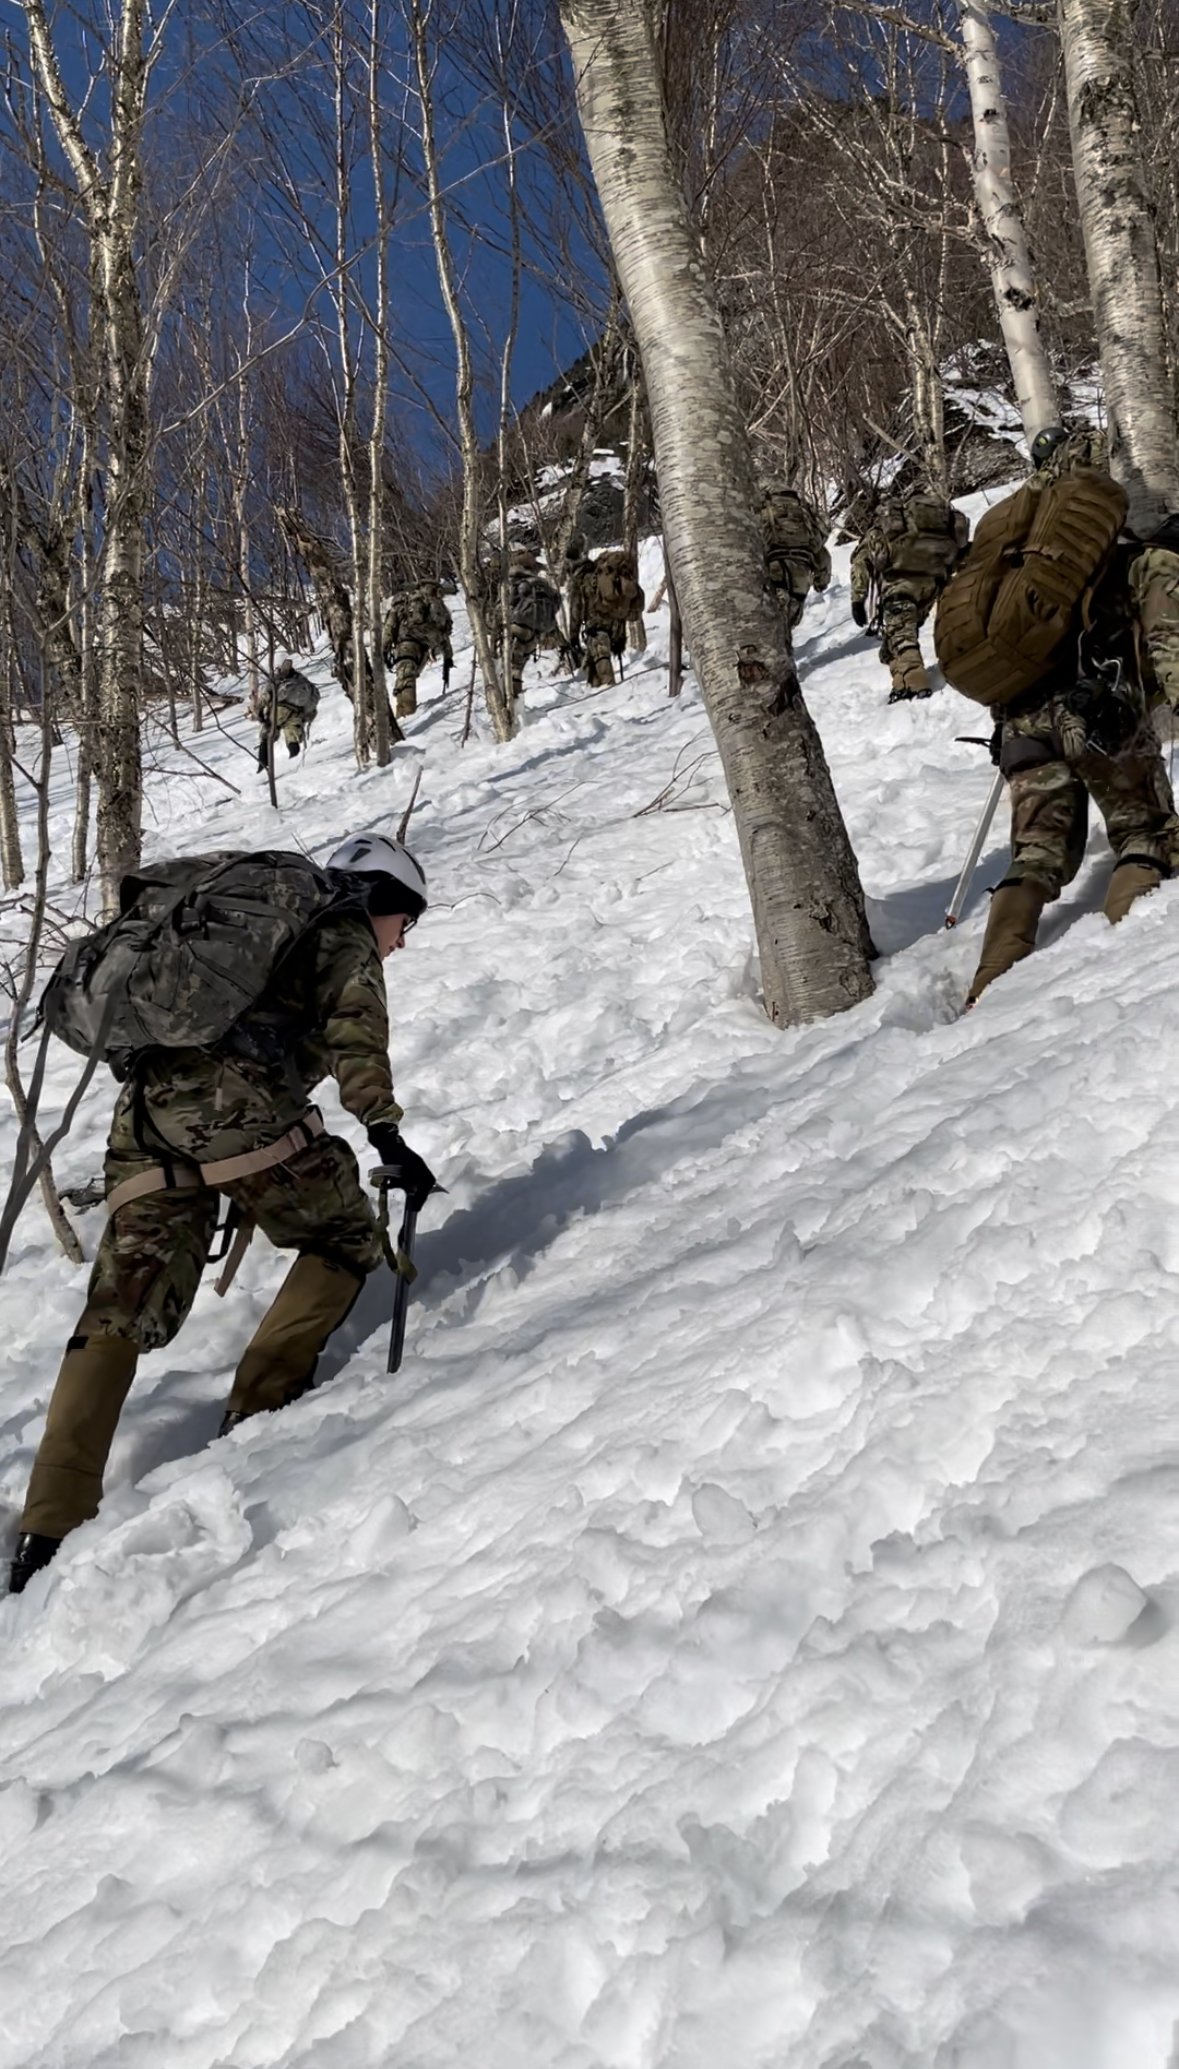
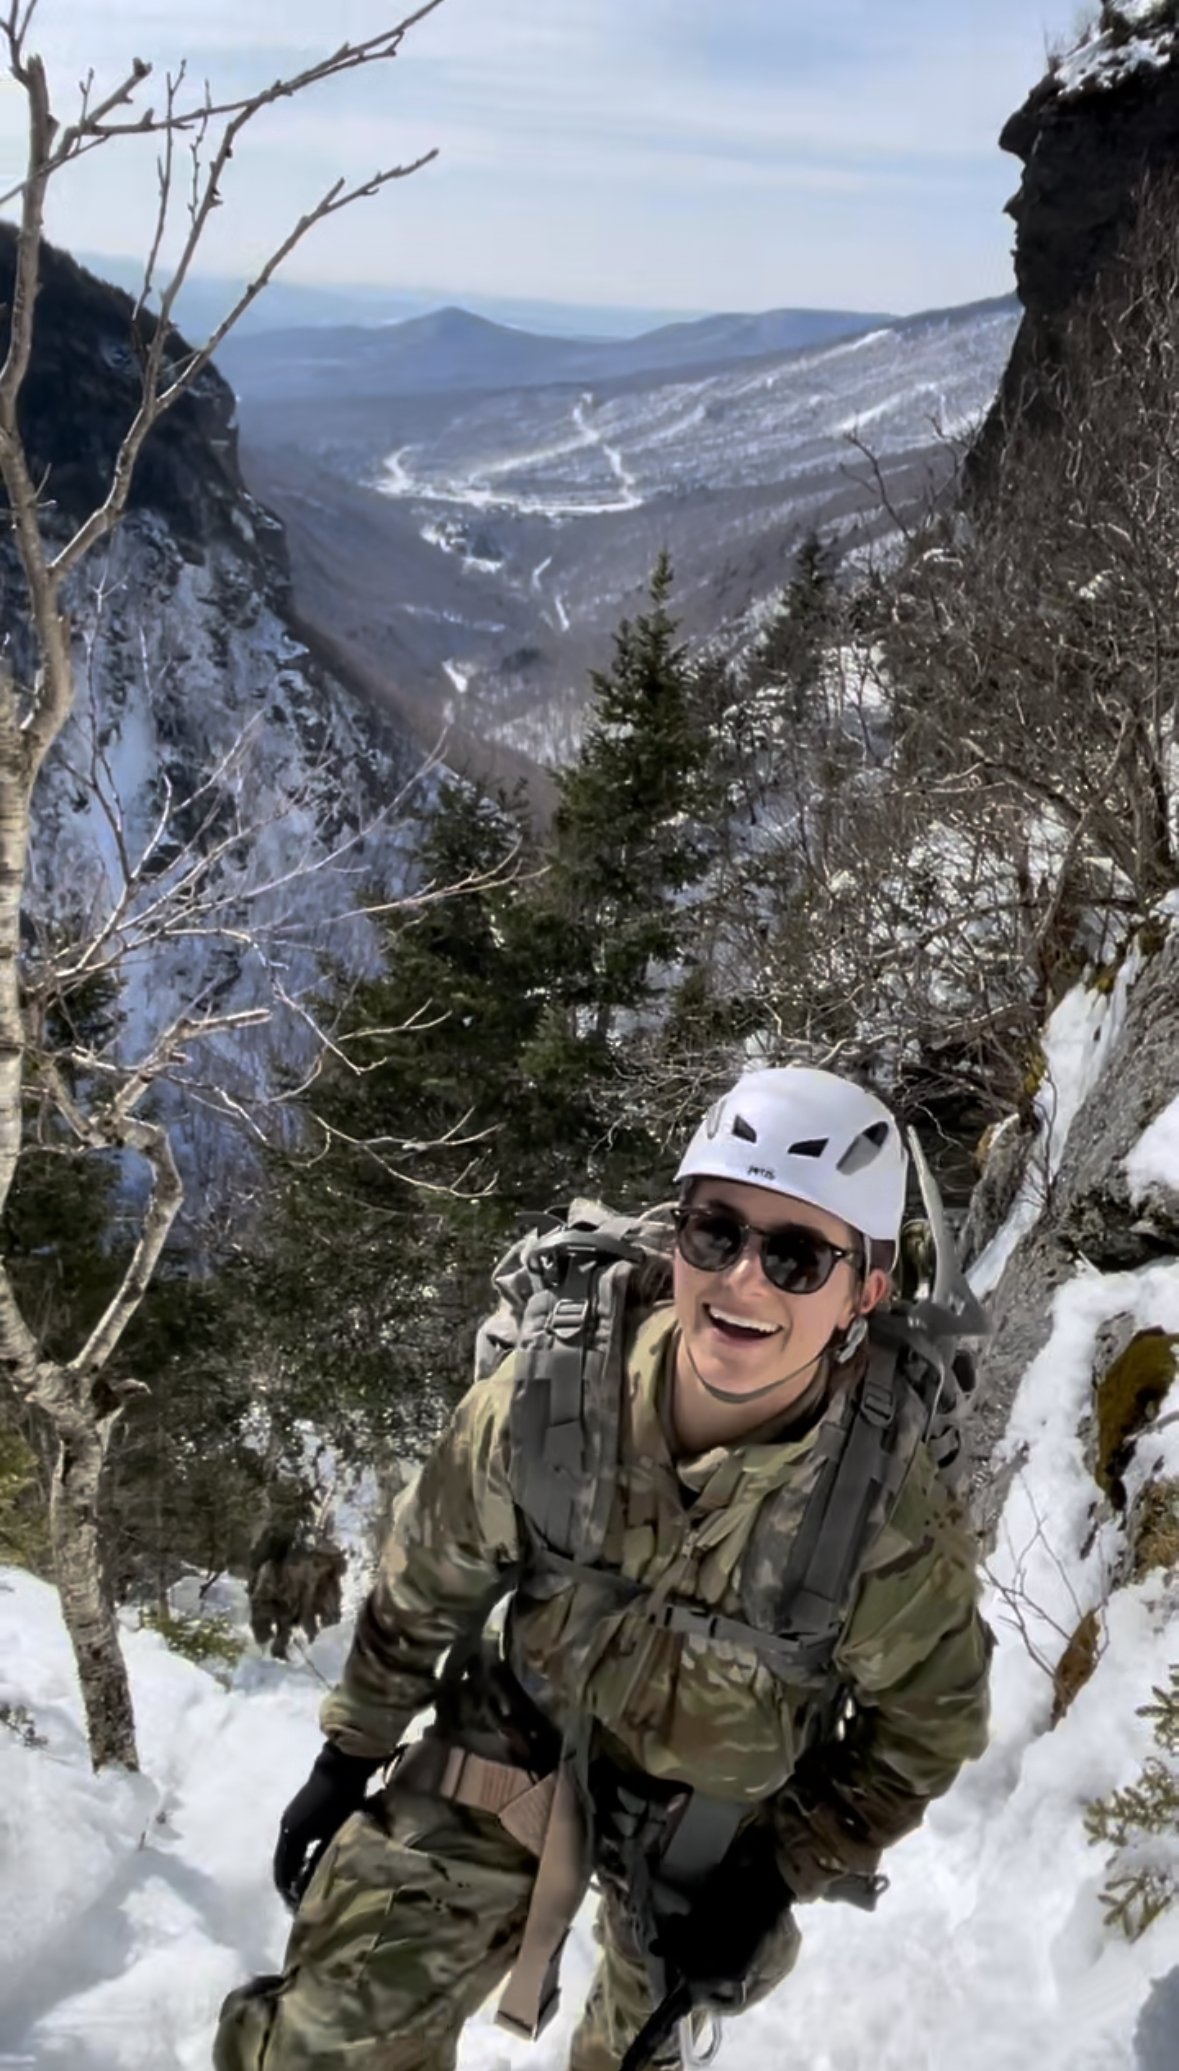
My favorite newish-old way to get moving lately has been rucking, or walking/jogging/climbing stairs with a weighted pack. I’ve done it sporadically throughout my life, mainly as training for any backpacking trips I’ve taken. But inspired by my partnership and experience at the Mountain Warfare School in Vermont with the U.S. Army last winter, I’ve started doing it more consistently. Right now I ruck 1-2 times per week, and I find it the perfect addition to my regular workout plan.
New to rucking? This military-inspired workout is buzzing in popularity – and for good reason. It’s straightforward, safe, effective, and a great thing to do with companions. So if you’re interested in trying it out, I hope this overview helps you get started.
What is Rucking?
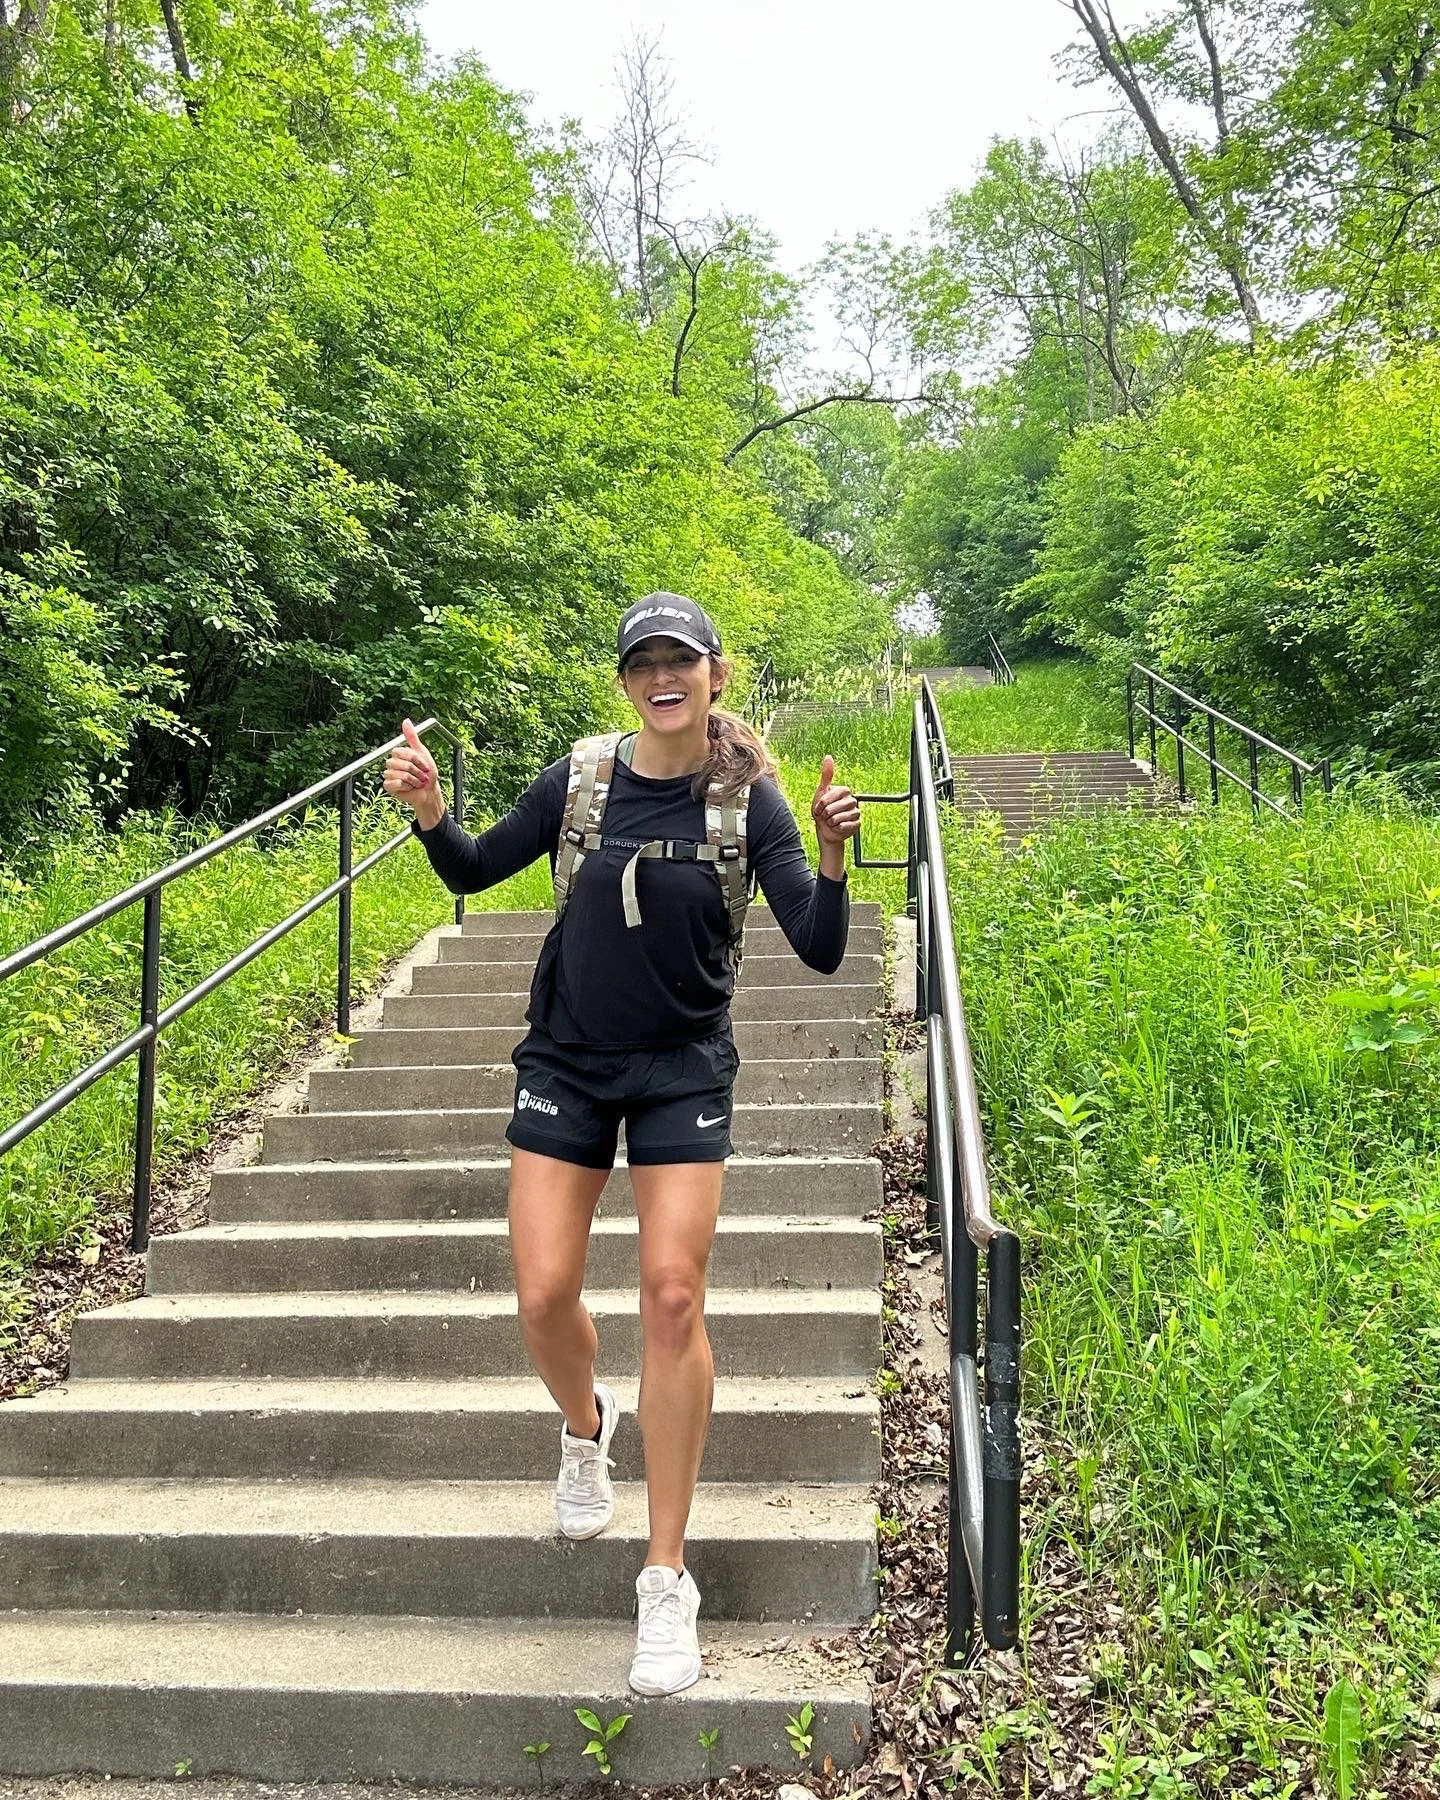
Rucking is just a fancy name for walking with a weighted backpack on. As you’ll see below, there’s a lot of variation in terms of what a rucking workout can look like, including walking on flat terrain or up staircases or hills. One of the great things about rucking is that it can be done just about everywhere. Take it into the woods, in the mountains, or just along your neighborhood walking route. Either way, you’ll quickly learn it’s a simple way to take your regular walk up a notch – or a few!
Why Do It?
- Works cardio and strength at the same time.
- Extremely functional.
- Supports good posture (use your back and abs!)
- Lower impact than running.
- Can be done just about everywhere.
- Great way to work out with friends.
- Gets you outside.
- It’s a cost-effective workout.
- You look super cool to everyone driving by…ok maybe not this one.
What You’ll Need:
One of the great things about rucking is you don’t need much to get started. Comfortable workout clothes and regular walking shoes or sneakers are just fine. And in terms of the ruck, there are options:
If you want to feel it out before making any purchases, just use any old backpack that fits well. Fill it with some soup cans, free weights, or filled water bottles. Line your backpack with a towel first for more comfort. You’ll make a little noise when you walk (I know from experience), but this is a great way to make it work with no extra purchases.
If you really want to do this on the regular, I recommend a pack and weight plate specifically designed for rucking. Lately I’ve been using a rucksack by the brand GoRuck, which my friend Chase, a firefighter and former member of the U.S. Navy, was kind enough to set me up with. I have one of their “Ruckers,” which is designed with a pouch to hold snuggly one of their weight plates. The same company also offers weight vests and plate carriers, but I like that their Ruckers offer a wider range of uses.
How Much Weight is Right?
If you’re new, start with about 5-10 percent of your body weight to feel it out and let your body get used to it. As you progress, you can choose to work your way up. I have found a sweet spot right around 20 percent of my body wight (about 25lbs). Could I carry more? Sure. But this usually feels like the right amount for me to balance strength, speed, cardio, etc.
Rucking Exercise Ideas:
Here I’ve outlined some workout plans simply as examples and inspiration. Customize based on your own fitness level and goals.
Beginner:
- 5 percent of body weight
- 2 miles (no incline)
- Aim to complete in under 35 minutes (17-minute mile)
Intermediate:
- 15 percent of body weight
- 5 miles (little-to-no incline)
- Aim to complete in under 75 minutes (15-minute mile)
Advanced:
- 20 percent of body weight
- 5 miles (hills or elevation-gain recommended)
- Stop after 2 miles and again after 4 miles:
o 3 one-minute planks
o 3 sets of 5 push-ups
o 3 sets of 20 walking lunges (10 per side)
- Aim to complete :)
Muscle soreness is to be expected. Remember to warm up first (I recommend loosening hips, calves and shoulders), and get in a good stretch after you’re done.